Showing posts with label Photoshop. Show all posts

Monday, 4 July 2022

Free Spirit

 Free Spirit

Taken on a recent trip to Dorset with some friends from the Cambridge Camera Club.

Lyme Regis, early evening.
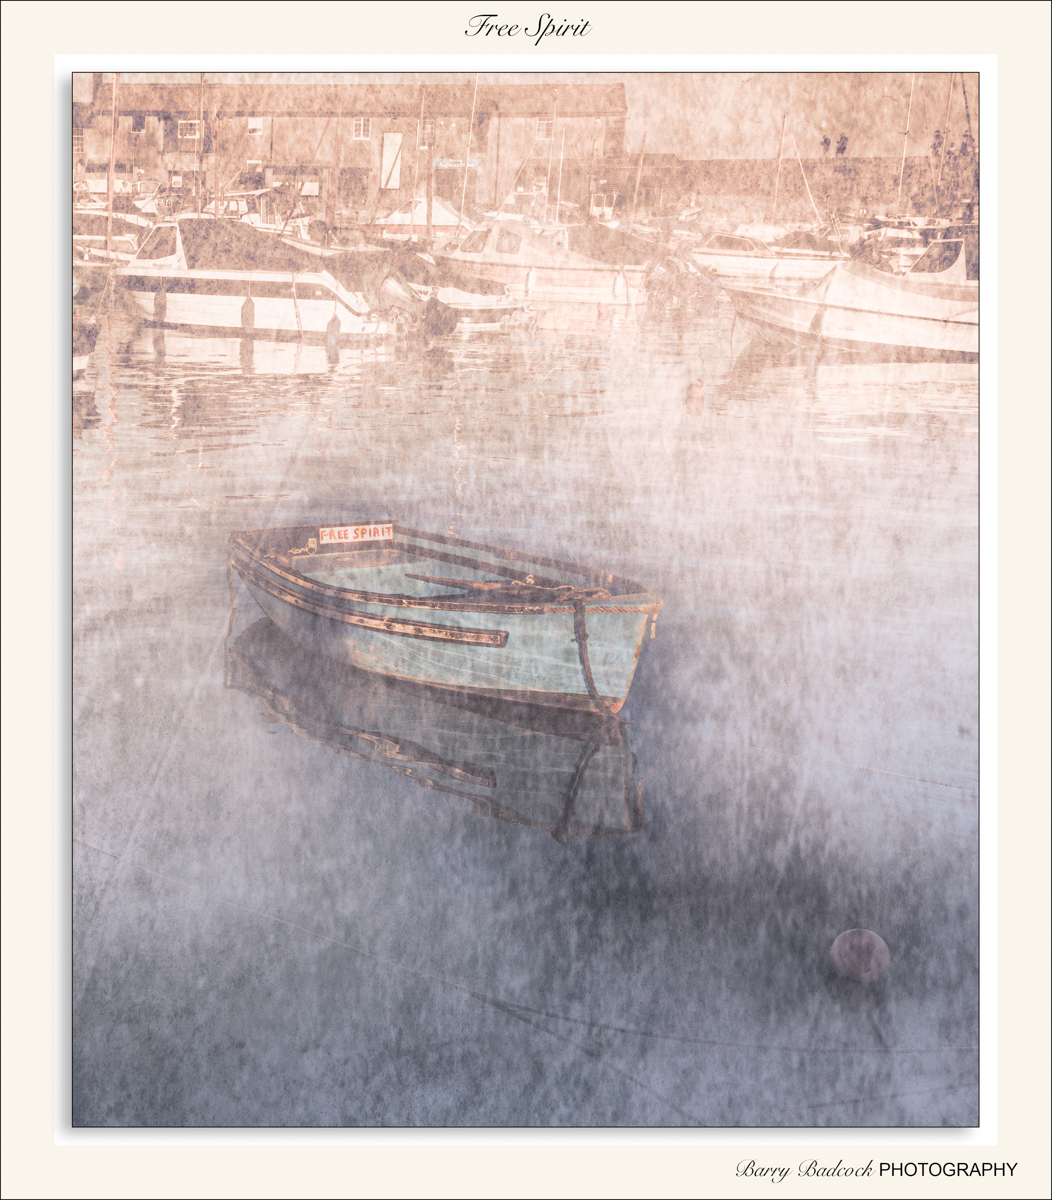


#photoshop #compositing #lymeregis #dorset #creativephotography 

Thursday, 3 February 2022

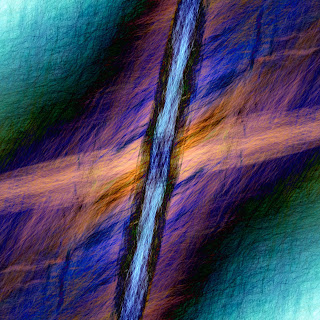
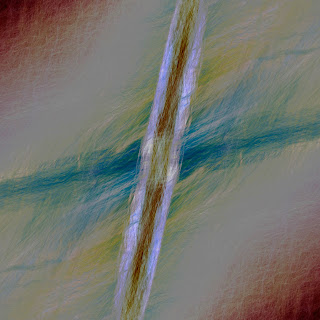
'Lines on Grass' Panel Images Development

This Blog is about how I took an In-camera Multiple Exposure image created from more than 2 ICM pictures for my daily journal. The text for my Daily Photo Journal (My Blip) is below.

The title was 'Time to Play' and very much sums up my approach to the abstract creative images  I create. I take 'An image' develop it in Lightroom and then open it in Photoshop. My Lightroom image sometimes, as is this time', be more than one Lightroom creation by using virtual copies. I would take these variations into photoshop as layers. Using the layer blend modes, plus flipping and transforming the layers to create a pleasing image (to me). I am often draw to very regimented designs and will look to increase symmetry through my playing. 

As I go along I will save different versions through the process to document how I got somewhere. These versions do not normally see the light of day but I thought I would create a blog about todays efforts. 

So to start here is the final final triptych and the words that accompanied the image on BlipFoto and Facebook.

The 'Blip' was entitled 'Time to Play'

Time to Play


Whilst I was out this morning on a walk back from the village shop I stopped for a while on the village green. 

I had my camera with me, of course, plus a variable neutral density filter. I decided to have a play with Intensional Camera Movement (ICM) combined with In-Camera Multiple Exposure (ME). 

I have not really explored the potential of ME with the Fuji X100V. Using the Fuji with its fixed 23mm lens (35mm full frame focal length equivalent) is a different experience to when I do this with the Canon cameras where I normally use 100mm - 200mm zoom.

I spent a while around the playpark and then as I was walking across the field I noticed the games pitches had been recently painted. I started playing with these lines using ICM + ME.

Back home I downloaded the files and was going to just choose one for my daily photo journal blip.

I got a bit carried away. I had chosen one image I liked and created three different versions in lightroom using virtual copies. Opened them in Photoshop as layers and played around with the blending. For the next hour I played around creating different versions using transformations, blending, masking, inverting, stroking etc. The Triptych here is version 18 (Left) version 11 (middle) and version 23 (Right).

I have not played like this for sometime, creating abstract images. Good fun

Please Note:-

"No Pixels were harmed in the production of these images"

The Original Image and its two Lightroom creations

Initial image with Lightroom adjustments

Virtual Copy #1

Virtual Copy #2

Into Photoshop - A start

I almost always look to create a square image so I would either resize the image to a square or crop to a square. As the final image is unlikely to be 'real' then resizing the image in photoshop with its distortions is not a problem.

I hid the top layer of the three and then changed the blending mode of the second layer. Along with a transformation and rotate 180 degrees.

The top layer is then made visible and the process repeated.


I will start saving variations based on the blending modes and opacities of the three layers.


 With the last three images here I selected the canvas and modify / contract by 500 pixels to create a border area. I invert this selection and create a curves layer to change the look of the outer area. I also stroked this area on a separate layer in 'red'

Brain in 'Free Fall'

At this point I was quite happy with some of the versions. I created Stamp Layers where I was happy with a result. I felt I could add symmetry and give a different look by using masking the individual stamp layers to show different versions in the corners.


Some of the differences between the versions can be quite subtle. 

I resized the centre and changed blending modes.
I very often use a selective Colour Layer and / or Colour Look Up layer to change the overall effect on all or part of the image.

Rotation

Just a simple throwaway comment from my wife led me to the next set of versions. She said 'What about a diamond, rather than a square'

I gave this some thought. Created a Stamp layer at the top of the layer stack and rotated it 45 degrees via transformation and reduced the diamond to be visible over the square. To start I inserted a solid black layer below the Stamp Layer.


I like this but wondered if a 'textured' background would be better. I changed the colour of the layer and changed its blending mode to 'Colour' and this gave a view of the underlying layers. Adding a Selective colour layer and a Colour Look Up layer I stated changing the attributes if each of these layers whilst enjoying a cup of tea (Very important to the creative process). I also  started  using Invert on some of the layers to see what would happen.


You get to a state where you have to stop. I felt the last two changes had gone far enough and I almost deleted these two versions. 


Friday, 11 July 2014

My Interior / Cathedral Work-flow

General Camera Settings

My camera setting are typically as Canon’s default set. These below are what I make sure is set at the time of the shoot.
I shoot my photos in RAW format.
As I am inside a church I ensure that ‘the beep’ is off. This is actually my normal setting; I don’t like electronic devices beeping at me – personal preference
Adobe RGB colour space
Set the viewfinder Grid display to 3x3. This helps with assessing the level of my camera and the composition
Enable Live View Exposure Simulation
1/3 Stop Exposure Level Increments

Lens Settings

I typically use a Canon 24-105 L-series lens  for most of my Cathedral shots. The settings below relate this lens. I also have in my bag a 15mm Canon Fish-eye and a 70-200mm L-Series Zoom.
·         Image stabilisation off
·         Set lens to  manual focus
·         I do not use a front filter in general
·         Lens hood attached

Camera Settings

·         Set Manual Exposure
·         AWB
·         Evaluative Metering
·         One-shot AF
·         Self-timer: 2 sec / Remote control
·         200 ISO

Menu Settings

·         Enable mirror lock-up

Taking the photo

For most of my shots I want create a HDR image because of the possible lighting conditions in the Cathedral. My current HDR work-flow involves taking 5 shots from 2 stops under to 2 stops over.
·         At this point I will put my camera on a tripod
·         Assess the apature I need for the shot. As a starting point I will set aperture to f/11 – f/16
·         Enable Live-view
·         Adjust shutter speed to get the desired ‘nominal exposure’ on live view
·         This is the 'centre' exposure
·         Assess the composition and adjust tripod / zoom as necessary
·         Manually focus on x10 live view
·         Turn Live view off
·         Move the shutter wheel exposure compensation wheel clockwise 6 clicks (i.e. 2-stops underexposed),
·         Take shot (1)
·         Move 3 clicks Anti-clockwise
·         Take shot (2)
·         Move 3 clicks Anti-clockwise
·         Take shot (3) – This is the nominal centre exposure.
·         Move 3 clicks Anti-clockwise
·         Take shot (4)
·         Move 3 clicks Anti-clockwise
·         Take shot (5)
·         You now have 5 shots
I sometimes work hand held and use the cameras HDR capability. On the Canon 5DMkiii this function allows you to shoot three images at plus or minus 1, 2 or 3 stops AND keep the individual images. It produces a composite jpeg file for assessment. The noise performance on the Mkiii is superb so I sometimes wind the ISO up quite high to enable reasonably fast shutter speeds. All the tricks about bracing yourself and keeping your legs apart to stabilise yourself apply. I would turn back on the image stabilisation.

Post Production

·         Import into Adobe Lightroom
·         Noise Reduction: On the tripod taken photos I typically do not apply any noise reduction to the images. If I have hand-held a shot at high ISO then I will apply noise reduction on each image in the sequence. Noise is more visible on the underexposed shots.
·         Select all 5 (3) photos
·         Open in the HDR Package. I Export to NIK HDR Efex 2
·         Composite image comes up in the initial screen. I only use ghost reduction if necessary
·         Press Open in NIK HDR Efex 2
·         Adjust the settings to your preference
·         Save
·         At this point I may perform some Lightroom adjustments like crop and lens correction.
·         Open in Photoshop
This next stage is all done on separate layers and is my typical thought process and uses the NIK filter Set in places.
·         Transform to correct for converging verticals etc.
·         Crop to the frame you want
·         Clone / heal any distractions / unwanted elements
·         At this point I create a new layer by Merge visible
·         If the image has come from a high ISO shot then I would consider using NIK Dfine 2.
·         NIK Viveza 2 – General adjustments plus control point adjustments on, in particular, the highlights and shadows. Increase the structure slider carefully.
·         Save and return to Photoshop
·         NIK Silver Efex 2. General adjustments, Dynamic brightness, Contrast, Structure
·         I always have a play with the colour filters. For Cathedral I find the blue filter with very little strength works well with stonework images
·         Save and return to Photoshop
·         At this point I save Photoshop mono version
·         Change blending mode on this monochrome layer to Luminosity. This gives an improvement to the tonal effect of the photo, in my opinion. I will sometimes change the blending mode to Soft Light. The colour in this instance comes through a bit too strong so I reduce the opacity to the blending layer.
·         At this point I save Colour version
·         I would then consider different effects by using the NIK Colour Efex Pro 4 or the new Analog Efex Pro 2. Or other Photoshop changes
·         NOTE:
o   On all the NIK filter steps above (except the Silver Efex layer) they could be applied using a smart filter on the layer which has the advantage in that you can go back and readjust the NIK filter.
o   I do not have the Silver Efex layer as a smart filter as it does not allow me to do the blending change to bring back the colour.
·         Save any versions you need to in the development of your image.
·         Back into Lightroom. Sometimes you have to synchronise the folder to bring some / all of the Photoshop creations into Lightroom.
I have developed the above work-flow over a number of Cathedrals over the last 18-months. Plus I attended a seminar given by Experience Seminars on Interior Photography. This was a superb seminar which consisted of a morning in the classroom and the afternoon practical session in Ely Cathedral. Unfortunately Experience Seminars had to close in April.

My Travels #12 - Wells Cathedral

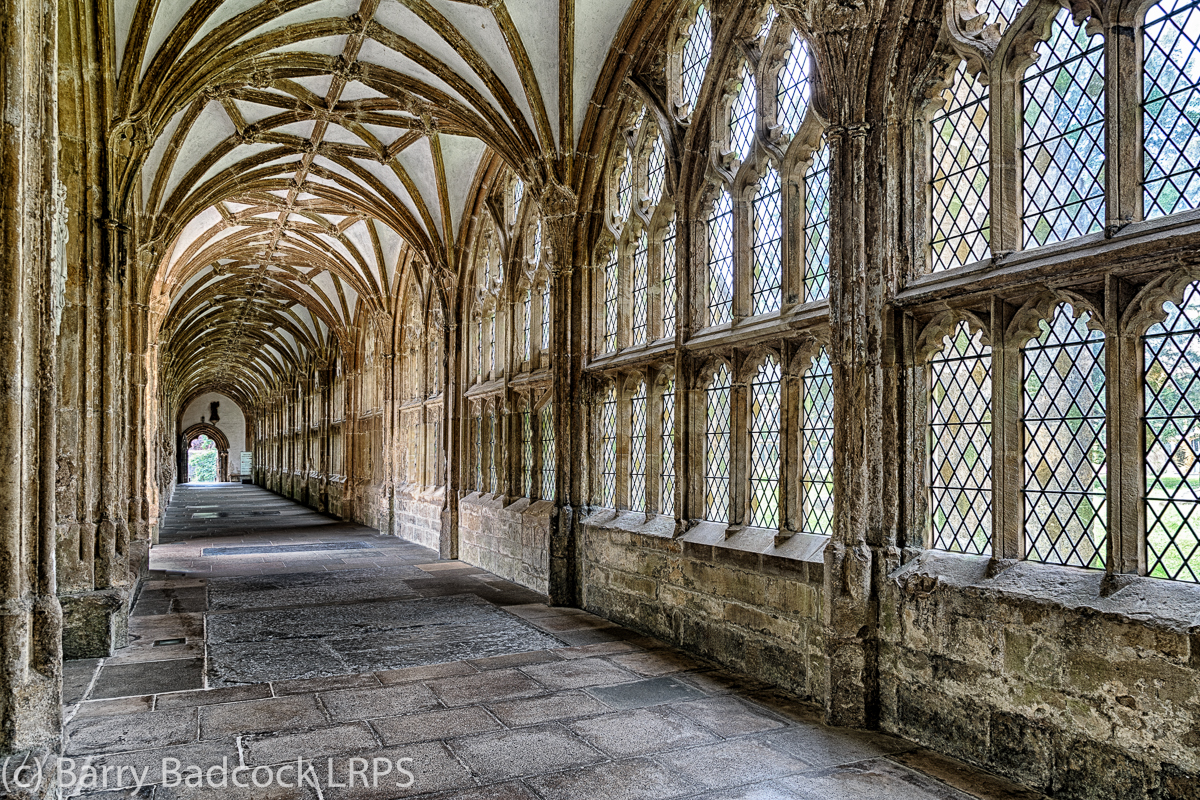
So the first third of my travels where over and I traveled from Higher Kingcombe Lodge in Dorset to Swindon to stay with my daughter for a few days. On my journey I stopped off at Wells to visit the Cathedral.

With the exception of the outside shot these photos are all 5 exposure HDR shots.

For the 'photographically' minded I have written a bullet list of my interior / cathedral work-flow from taking the shot to post processing and will also produce it as a separate blog.


Magnolia Shot with the Lensbaby Velvet 85mm

 All these shots were taken with the Lensbaby Velvet 85mm. All were taken at the wider aperture (all wider than f/5.6 but mainly at f/2.8 an...